Uploading files to a server is a common feature in modern web applications. Whether you're building a contact form, a content management system, or a custom file sharing platform, PHP offers straightforward tools to help you handle file uploads securely and efficiently.
Prerequisites
- Basic understanding of PHP and HTML
- A local server environment (like XAMPP, WAMP, or MAMP)
- A text editor or IDE
Step 1: Create the HTML Upload Form
Start by creating a simple HTML form that allows users to choose and upload a file.
<!DOCTYPE html>
<html>
<head>
<title>File Upload</title>
</head>
<body>
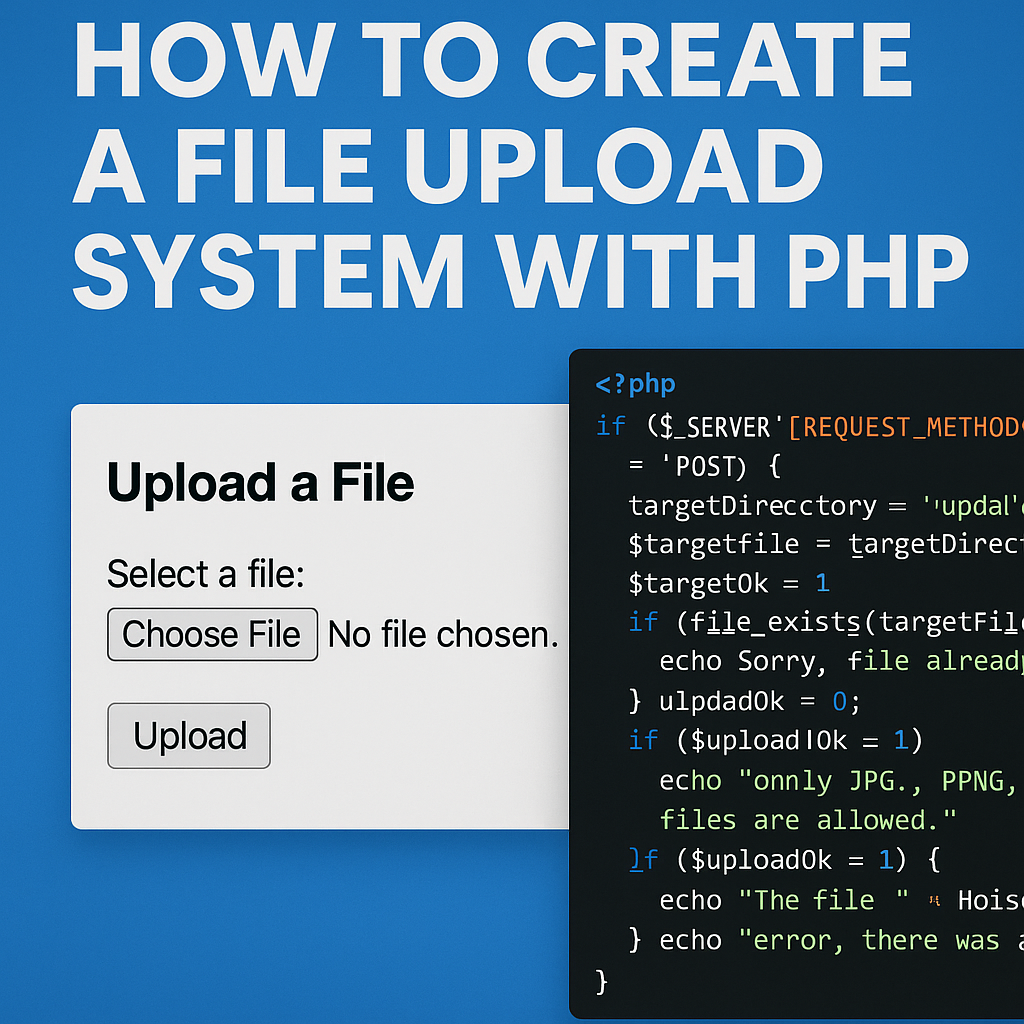
<h2>Upload a File</h2>
<form action="upload.php" method="post" enctype="multipart/form-data">
<label for="file">Select a file:</label><br>
<input type="file" name="file" id="file"><br><br>
<input type="submit" name="submit" value="Upload">
</form>
</body>
</html>
Step 2: Handle the File Upload in PHP
Now let’s write the PHP script that processes the uploaded file.
<?php
// upload.php

if ($_SERVER['REQUEST_METHOD'] == 'POST') {
    $targetDirectory = "uploads/";
    $targetFile = $targetDirectory . basename($_FILES["file"]["name"]);
    $uploadOk = 1;
    $fileType = strtolower(pathinfo($targetFile, PATHINFO_EXTENSION));

    // Check if file already exists
    if (file_exists($targetFile)) {
        echo "Sorry, file already exists.<br>";
        $uploadOk = 0;
    }

    // Limit file size (e.g., 2MB)
    if ($_FILES["file"]["size"] > 2000000) {
        echo "Sorry, your file is too large.<br>";
        $uploadOk = 0;
    }

    // Allow only specific file types
    $allowedTypes = ["jpg", "png", "pdf", "docx"];
    if (!in_array($fileType, $allowedTypes)) {
        echo "Sorry, only JPG, PNG, PDF & DOCX files are allowed.<br>";
        $uploadOk = 0;
    }

    // Upload file if everything is ok
    if ($uploadOk == 1) {
        if (move_uploaded_file($_FILES["file"]["tmp_name"], $targetFile)) {
            echo "The file " . htmlspecialchars(basename($_FILES["file"]["name"])) . " has been uploaded.";
        } else {
            echo "Sorry, there was an error uploading your file.";
        }
    }
}
?>
Step 3: Create the Uploads Directory
Make sure to create a folder named uploads in your project directory and give it the correct permissions so PHP can write to it. On most systems, 755 or 775 permissions will work.
Security Considerations
- Always validate the file type both on client and server side.
- Use random or unique file names to avoid overwriting files.
- Store uploaded files outside the web root when possible.
- Scan uploaded files for malware using antivirus tools if necessary.
Conclusion
Creating a file upload system with PHP is simple but requires attention to security and validation. With the right checks in place, you can safely allow users to upload files to your server as part of a broader application.
Happy coding!