• 26 Jul, 2025

Build a Weather App with PHP and OpenWeatherMap API

Build a Weather App with PHP and OpenWeatherMap API

Build a PHP Weather App using the OpenWeatherMap API. Learn to fetch real-time weather data, handle JSON, and work with APIs in this beginner-friendly guide.


Whether you're a beginner in web development or looking to brush up on your API skills, creating a weather application is a great project. In this blog post, I’ll walk you through how to build a simple Weather App using PHP and the OpenWeatherMap API.


What You’ll Learn

  • How to work with APIs in PHP
  • How to fetch and decode JSON responses
  • How to use form inputs to fetch live weather data
  • How to handle basic error checking in PHP

Tools & Technologies

  • PHP (Backend logic)
  • HTML/CSS (For the user interface)
  • OpenWeatherMap API (To get real-time weather data)

Step 1: Get Your OpenWeatherMap API Key

  1. Go to https://openweathermap.org/api
  2. Sign up and log in to your account
  3. Navigate to the API Keys section in your dashboard
  4. Copy your API key (you'll need it soon)

Step 2: Create the Basic Project Structure

Create a project folder with the following files:

weather-app/
│
├── index.php
├── weather_api.php


Step 3: Build the User Interface (HTML)

Open index.php and add this HTML:

<!DOCTYPE html>
<html lang="en">
<head>
<meta charset="UTF-8" />
<meta name="viewport" content="width=device-width, initial-scale=1" />
<title>Live Weather App</title>
<style>
    @import url('https://fonts.googleapis.com/css2?family=Roboto:wght@400;700&display=swap');

    body {
        font-family: 'Roboto', sans-serif;
        background: linear-gradient(135deg, #667eea 0%, #764ba2 100%);
        height: 100vh;
        margin: 0;
        display: flex;
        justify-content: center;
        align-items: center;
        color: #fff;
    }

    .weather-container {
        background: rgba(255, 255, 255, 0.15);
        backdrop-filter: blur(15px);
        -webkit-backdrop-filter: blur(15px);
        border-radius: 20px;
        box-shadow: 0 8px 32px 0 rgba(31, 38, 135, 0.37);
        padding: 30px 40px;
        width: 320px;
        text-align: center;
        transition: all 0.3s ease;
    }

    h1 {
        margin-bottom: 20px;
        font-weight: 700;
        font-size: 2rem;
        text-shadow: 0 2px 4px rgba(0,0,0,0.25);
    }

    form {
        display: flex;
        justify-content: center;
        margin-bottom: 25px;
    }

    input[type="text"] {
        padding: 12px 15px;
        border-radius: 12px 0 0 12px;
        border: none;
        outline: none;
        width: 180px;
        font-size: 1rem;
        transition: background 0.3s ease;
    }

    input[type="text"]:focus {
        background: rgba(255, 255, 255, 0.3);
    }

    button {
        padding: 12px 20px;
        border-radius: 0 12px 12px 0;
        border: none;
        background-color: #4caf50;
        color: white;
        font-weight: 600;
        cursor: pointer;
        transition: background-color 0.3s ease;
        font-size: 1rem;
    }

    button:hover {
        background-color: #3e8e41;
    }

    .weather-info {
        font-size: 1.1rem;
        line-height: 1.5;
    }

    .weather-info h2 {
        margin: 0 0 10px;
    }

    .error {
        color: #ff6b6b;
        font-weight: 700;
        margin-top: 20px;
    }

    .loader {
        border: 4px solid rgba(255, 255, 255, 0.3);
        border-top: 4px solid white;
        border-radius: 50%;
        width: 36px;
        height: 36px;
        animation: spin 1s linear infinite;
        margin: 20px auto;
        display: none;
    }

    @keyframes spin {
        0% { transform: rotate(0deg);}
        100% { transform: rotate(360deg);}
    }
</style>
</head>
<body>
    <div class="weather-container">
        <h1>Live Weather</h1>
        <form id="weatherForm">
            <input type="text" id="cityInput" name="city" placeholder="Enter city name" autocomplete="off" required />
            <button type="submit">Get</button>
        </form>

        <div class="loader" id="loader"></div>
        <div class="weather-info" id="weatherResult"></div>
        <div class="error" id="errorMsg"></div>
    </div>

<script>
// Handle form submission
const form = document.getElementById('weatherForm');
const cityInput = document.getElementById('cityInput');
const weatherResult = document.getElementById('weatherResult');
const errorMsg = document.getElementById('errorMsg');
const loader = document.getElementById('loader');

form.addEventListener('submit', async (e) => {
    e.preventDefault();
    errorMsg.textContent = '';
    weatherResult.innerHTML = '';
    loader.style.display = 'block';

    const city = cityInput.value.trim();
    if (!city) return;

    try {
        const res = await fetch(`weather_api.php?city=${encodeURIComponent(city)}`);
        const data = await res.json();

        loader.style.display = 'none';

        if (data.error) {
            errorMsg.textContent = data.error;
        } else {
            displayWeather(data);
        }
    } catch (err) {
        loader.style.display = 'none';
        errorMsg.textContent = 'Error fetching weather data.';
    }
});

// Display weather info in HTML
function displayWeather(data) {
    weatherResult.innerHTML = `
        <h2>Weather in ${data.name}</h2>
        <p><strong>Temperature:</strong> ${data.temp} °C</p>
        <p><strong>Condition:</strong> ${data.description}</p>
        <p><strong>Humidity:</strong> ${data.humidity}%</p>
        <p><strong>Wind Speed:</strong> ${data.wind} m/s</p>
    `;
}

// Try to get user's location on page load and fetch weather automatically
window.onload = () => {
    if (navigator.geolocation) {
        loader.style.display = 'block';
        navigator.geolocation.getCurrentPosition(async position => {
            const lat = position.coords.latitude;
            const lon = position.coords.longitude;

            try {
                const res = await fetch(`weather_api.php?lat=${lat}&lon=${lon}`);
                const data = await res.json();

                loader.style.display = 'none';

                if (data.error) {
                    errorMsg.textContent = data.error;
                } else {
                    weatherResult.innerHTML = '<h2>Your Location Weather</h2>';
                    displayWeather(data);
                }
            } catch {
                loader.style.display = 'none';
                errorMsg.textContent = 'Unable to fetch your location weather.';
            }
        }, () => {
            loader.style.display = 'none';
            errorMsg.textContent = 'Geolocation permission denied.';
        });
    }
};
</script>
</body>
</html>


Step 4: Add Weather API from OpenWeather

Create a weather_api.php file:

<?php
header('Content-Type: application/json');

$apiKey = "YOUR_API_KEY";

if (isset($_GET['city'])) {
    $city = urlencode(trim($_GET['city']));
    $url = "https://api.openweathermap.org/data/2.5/weather?q={$city}&appid={$apiKey}&units=metric";
} elseif (isset($_GET['lat'], $_GET['lon'])) {
    $lat = floatval($_GET['lat']);
    $lon = floatval($_GET['lon']);
    $url = "https://api.openweathermap.org/data/2.5/weather?lat={$lat}&lon={$lon}&appid={$apiKey}&units=metric";
} else {
    echo json_encode(['error' => 'No location specified']);
    exit;
}

$response = @file_get_contents($url);
if ($response === FALSE) {
    echo json_encode(['error' => 'Failed to fetch data']);
    exit;
}

$data = json_decode($response, true);

if (!isset($data['cod']) || $data['cod'] != 200) {
    echo json_encode(['error' => 'City not found or invalid location']);
    exit;
}

$result = [
    'name' => $data['name'],
    'temp' => $data['main']['temp'],
    'description' => ucfirst($data['weather'][0]['description']),
    'humidity' => $data['main']['humidity'],
    'wind' => $data['wind']['speed'],
];

echo json_encode($result);


Screenshot

live-weather.png

Screenshot

live-weather-app.png

How It Works

  • The user submits a city name.
  • The form sends a POST request to the same page.
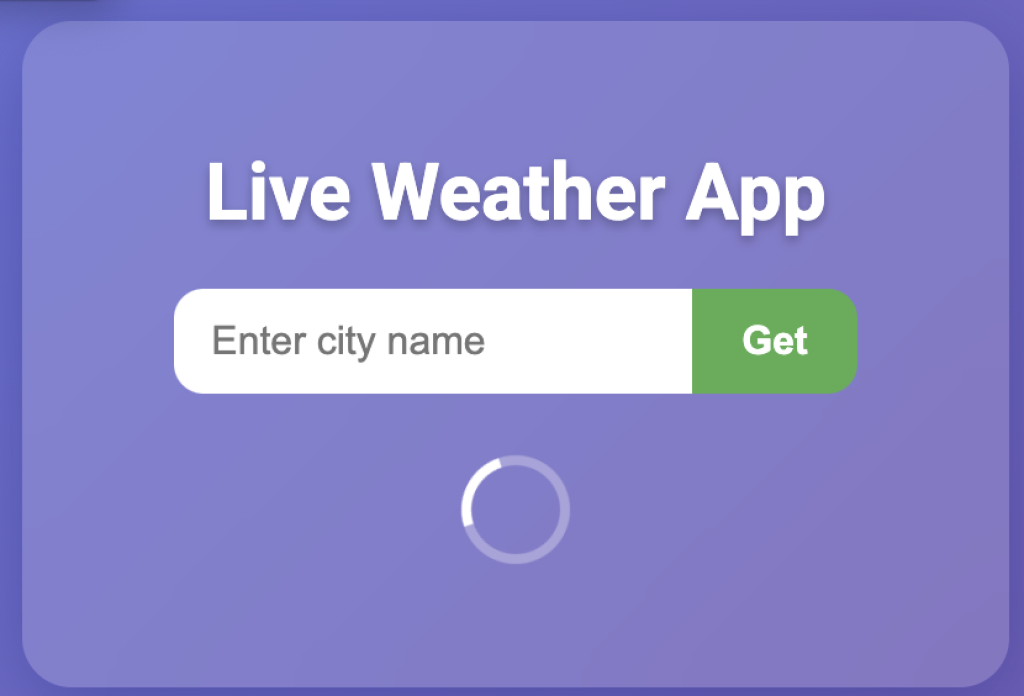
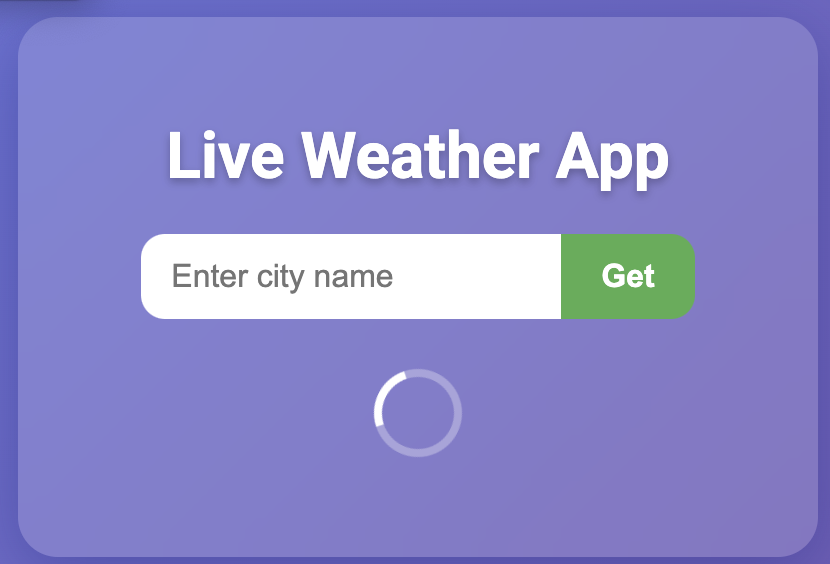
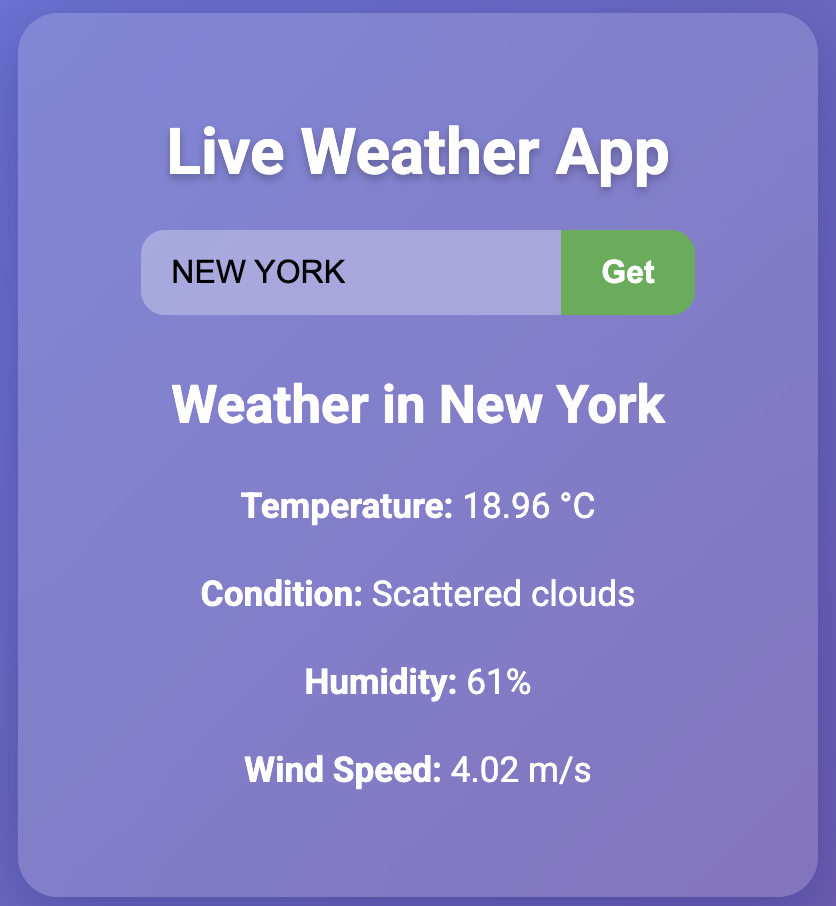
  • PHP takes the city input, makes a GET request to the OpenWeatherMap API.
  • The JSON response is decoded using json_decode().
  • Weather details are extracted and displayed.

Tips and Enhancements

  • Add error handling for empty or incorrect inputs.
  • Support for more data (like icons, pressure, etc.).
  • Cache results to reduce API calls.
  • Add JavaScript for asynchronous updates without page reloads.

Final Thoughts

This PHP Weather App is a practical way to understand how APIs and JSON work in real-world projects. With just a few lines of code, you've built an app that interacts with an external API and displays dynamic data — a valuable skill in any developer’s toolkit.


Frequently Asked Questions (FAQ)

🔹 1. Is the OpenWeatherMap API free to use?

Yes, OpenWeatherMap offers a free tier that allows up to 1,000 API calls per day, which is more than enough for development and small projects. For advanced features or higher limits, they offer paid plans.


🔹 2. Why do I get a "City not found" error?

This usually happens if:

  • The city name is misspelled
  • The API key is incorrect or invalid
  • The API call exceeded rate limits

Make sure to:

  • Double-check the spelling of the city
  • Use a valid API key
  • Handle edge cases with error messages

🔹 3. Can I display weather data for multiple cities at once?

Yes. You can loop through a list of city names in PHP and call the API for each one. Just be cautious not to exceed the API rate limits.


🔹 4. Can I show weather icons in the app?

Absolutely! The API provides an icon code in the weather[0]['icon'] field. You can display it using:

<img src="http://openweathermap.org/img/wn/<?php echo $weather['weather'][0]['icon']; ?>@2x.png" />


🔹 5. How do I handle slow API responses or timeouts?

Instead of file_get_contents(), consider using cURL in PHP for better control over timeouts and error handling. This makes your app more robust and reliable.


🔹 6. Can I use this with a frontend framework like React or Vue?

Yes! You can build the frontend with React or Vue and use PHP as a backend API proxy. Just make sure to keep your API key hidden on the server side to avoid misuse.


🔹 7. What other data can I fetch from OpenWeatherMap?

OpenWeatherMap provides much more than just current weather:

  • 5-day/3-hour forecasts
  • Air pollution data
  • UV index
  • Historical weather
  • Weather alerts

Check out their API documentation for all available features.

Y2A Post

Discover the innovative work in AI-generated blogs, seamlessly blending technology with creativity. This unique approach not only offers fresh perspectives on various topics but also ensures that content is engaging and relevant.