How to Build a Browser OCR Tool with Tesseract.js
Learn how to build a browser-based OCR app using Tesseract.js. Extract text from images directly in the browser with a simple client-side setup.


Suggested:
Build a PHP Weather App using the OpenWeatherMap API. Learn to fetch real-time weather data, handle JSON, and work with APIs in this beginner-friendly guide.
Whether you're a beginner in web development or looking to brush up on your API skills, creating a weather application is a great project. In this blog post, I’ll walk you through how to build a simple Weather App using PHP and the OpenWeatherMap API.
Table of contents [Show]
Create a project folder with the following files:
weather-app/
│
├── index.php
├── weather_api.php
Open index.php and add this HTML:
<!DOCTYPE html>
<html lang="en">
<head>
<meta charset="UTF-8" />
<meta name="viewport" content="width=device-width, initial-scale=1" />
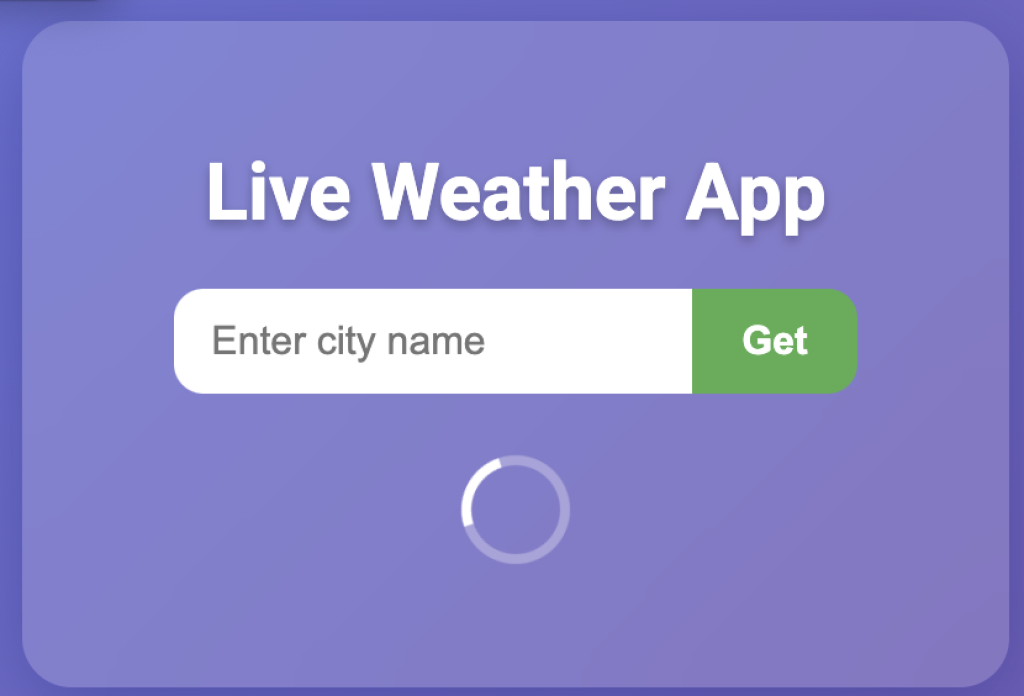
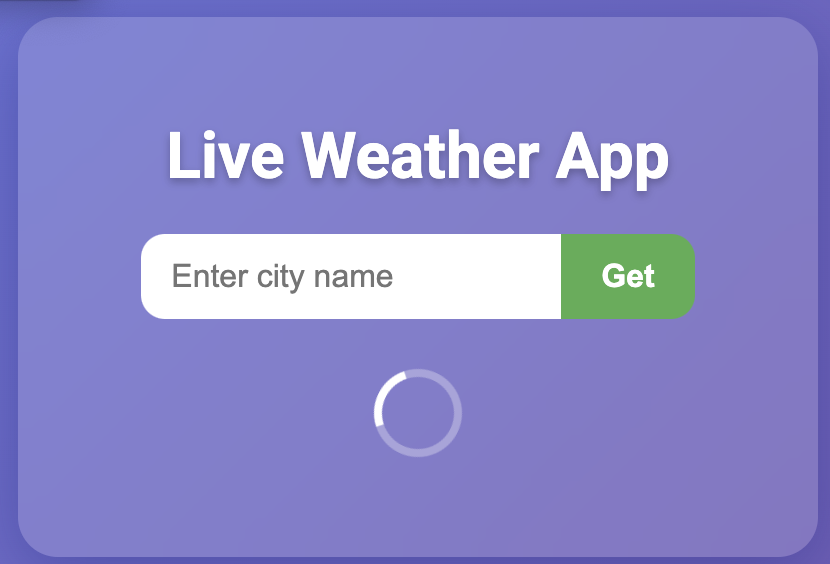
<title>Live Weather App</title>
<style>
@import url('https://fonts.googleapis.com/css2?family=Roboto:wght@400;700&display=swap');
body {
font-family: 'Roboto', sans-serif;
background: linear-gradient(135deg, #667eea 0%, #764ba2 100%);
height: 100vh;
margin: 0;
display: flex;
justify-content: center;
align-items: center;
color: #fff;
}
.weather-container {
background: rgba(255, 255, 255, 0.15);
backdrop-filter: blur(15px);
-webkit-backdrop-filter: blur(15px);
border-radius: 20px;
box-shadow: 0 8px 32px 0 rgba(31, 38, 135, 0.37);
padding: 30px 40px;
width: 320px;
text-align: center;
transition: all 0.3s ease;
}
h1 {
margin-bottom: 20px;
font-weight: 700;
font-size: 2rem;
text-shadow: 0 2px 4px rgba(0,0,0,0.25);
}
form {
display: flex;
justify-content: center;
margin-bottom: 25px;
}
input[type="text"] {
padding: 12px 15px;
border-radius: 12px 0 0 12px;
border: none;
outline: none;
width: 180px;
font-size: 1rem;
transition: background 0.3s ease;
}
input[type="text"]:focus {
background: rgba(255, 255, 255, 0.3);
}
button {
padding: 12px 20px;
border-radius: 0 12px 12px 0;
border: none;
background-color: #4caf50;
color: white;
font-weight: 600;
cursor: pointer;
transition: background-color 0.3s ease;
font-size: 1rem;
}
button:hover {
background-color: #3e8e41;
}
.weather-info {
font-size: 1.1rem;
line-height: 1.5;
}
.weather-info h2 {
margin: 0 0 10px;
}
.error {
color: #ff6b6b;
font-weight: 700;
margin-top: 20px;
}
.loader {
border: 4px solid rgba(255, 255, 255, 0.3);
border-top: 4px solid white;
border-radius: 50%;
width: 36px;
height: 36px;
animation: spin 1s linear infinite;
margin: 20px auto;
display: none;
}
@keyframes spin {
0% { transform: rotate(0deg);}
100% { transform: rotate(360deg);}
}
</style>
</head>
<body>
<div class="weather-container">
<h1>Live Weather</h1>
<form id="weatherForm">
<input type="text" id="cityInput" name="city" placeholder="Enter city name" autocomplete="off" required />
<button type="submit">Get</button>
</form>
<div class="loader" id="loader"></div>
<div class="weather-info" id="weatherResult"></div>
<div class="error" id="errorMsg"></div>
</div>
<script>
// Handle form submission
const form = document.getElementById('weatherForm');
const cityInput = document.getElementById('cityInput');
const weatherResult = document.getElementById('weatherResult');
const errorMsg = document.getElementById('errorMsg');
const loader = document.getElementById('loader');
form.addEventListener('submit', async (e) => {
e.preventDefault();
errorMsg.textContent = '';
weatherResult.innerHTML = '';
loader.style.display = 'block';
const city = cityInput.value.trim();
if (!city) return;
try {
const res = await fetch(`weather_api.php?city=${encodeURIComponent(city)}`);
const data = await res.json();
loader.style.display = 'none';
if (data.error) {
errorMsg.textContent = data.error;
} else {
displayWeather(data);
}
} catch (err) {
loader.style.display = 'none';
errorMsg.textContent = 'Error fetching weather data.';
}
});
// Display weather info in HTML
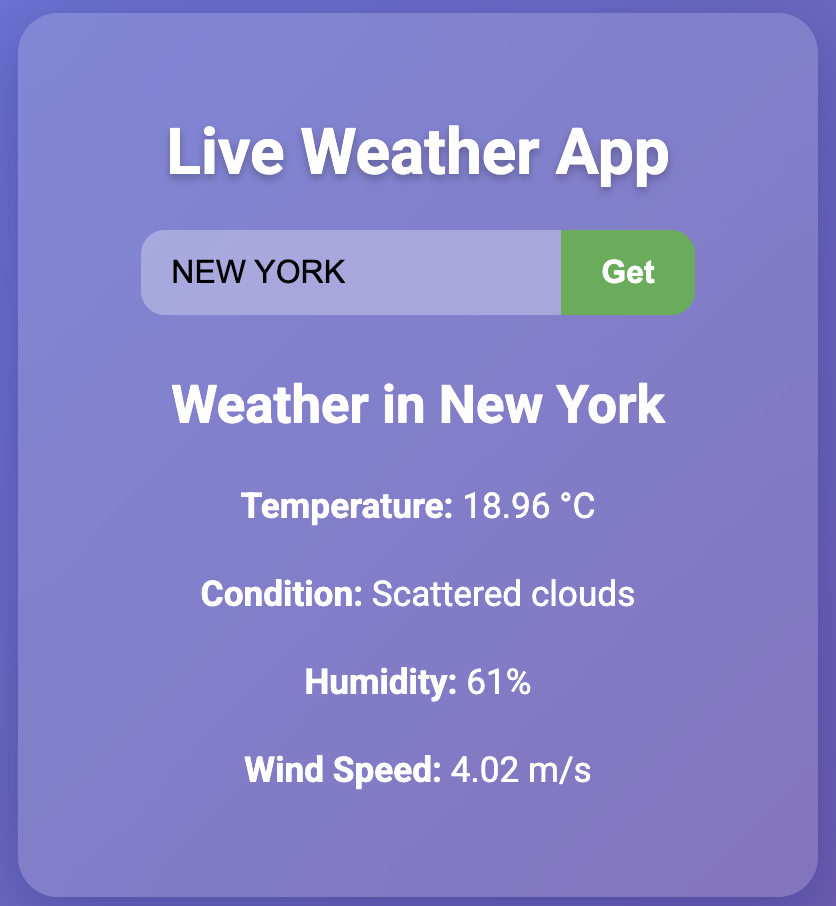
function displayWeather(data) {
weatherResult.innerHTML = `
<h2>Weather in ${data.name}</h2>
<p><strong>Temperature:</strong> ${data.temp} °C</p>
<p><strong>Condition:</strong> ${data.description}</p>
<p><strong>Humidity:</strong> ${data.humidity}%</p>
<p><strong>Wind Speed:</strong> ${data.wind} m/s</p>
`;
}
// Try to get user's location on page load and fetch weather automatically
window.onload = () => {
if (navigator.geolocation) {
loader.style.display = 'block';
navigator.geolocation.getCurrentPosition(async position => {
const lat = position.coords.latitude;
const lon = position.coords.longitude;
try {
const res = await fetch(`weather_api.php?lat=${lat}&lon=${lon}`);
const data = await res.json();
loader.style.display = 'none';
if (data.error) {
errorMsg.textContent = data.error;
} else {
weatherResult.innerHTML = '<h2>Your Location Weather</h2>';
displayWeather(data);
}
} catch {
loader.style.display = 'none';
errorMsg.textContent = 'Unable to fetch your location weather.';
}
}, () => {
loader.style.display = 'none';
errorMsg.textContent = 'Geolocation permission denied.';
});
}
};
</script>
</body>
</html>
Create a weather_api.php file:
<?php
header('Content-Type: application/json');

$apiKey = "YOUR_API_KEY";

if (isset($_GET['city'])) {
    $city = urlencode(trim($_GET['city']));
    $url = "https://api.openweathermap.org/data/2.5/weather?q={$city}&appid={$apiKey}&units=metric";
} elseif (isset($_GET['lat'], $_GET['lon'])) {
    $lat = floatval($_GET['lat']);
    $lon = floatval($_GET['lon']);
    $url = "https://api.openweathermap.org/data/2.5/weather?lat={$lat}&lon={$lon}&appid={$apiKey}&units=metric";
} else {
    echo json_encode(['error' => 'No location specified']);
    exit;
}

$response = @file_get_contents($url);
if ($response === FALSE) {
    echo json_encode(['error' => 'Failed to fetch data']);
    exit;
}

$data = json_decode($response, true);

if (!isset($data['cod']) || $data['cod'] != 200) {
    echo json_encode(['error' => 'City not found or invalid location']);
    exit;
}

$result = [
    'name' => $data['name'],
    'temp' => $data['main']['temp'],
    'description' => ucfirst($data['weather'][0]['description']),
    'humidity' => $data['main']['humidity'],
    'wind' => $data['wind']['speed'],
];

echo json_encode($result);
Result
json_decode().
This PHP Weather App is a practical way to understand how APIs and JSON work in real-world projects. With just a few lines of code, you've built an app that interacts with an external API and displays dynamic data — a valuable skill in any developer’s toolkit.
Learn how to build a browser-based OCR app using Tesseract.js. Extract text from images directly in the browser with a simple client-side setup.
Step-by-step guide to creating a PHP backend that removes image backgrounds using Remove.bg API. Ideal for developers building automated image tools
Learn how to create a real-time PHP chat app using MySQL and JavaScript with user login, typing status, chat history deletion, and a modern, responsive UI.